
Capital Wasteland
The Capital wasteland, also known as the place where Fallout 3 took place, is an entire second unlockable map. Once you finish the Commonwealth storyline and complete the ‘Finale’ chapter (upgrade equipment to level 65) of the main quests, you will gain access to it. There are some critical differences in the incidents there… I’d say that The Capital Wasteland is a sequel to the mysterious treasure, partially. Make sure to read up my advice list for that, as they still apply here, if you don’t have 3 or 4 dwellers who are strong enough to take on the incidents by themselves.
So, What’s Changed?

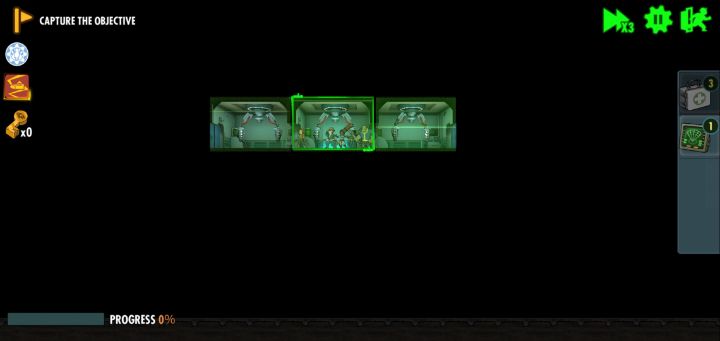
- Normal incidents will require over 120 000 power, even over 160 000, basically the further you get, the more power… sounds easy, but read the following line.
- Sweeping of an incident of any difficulty is conditioned by 100% progress.
- Most require you to use specific dwellers to gain additional rewards. However, you don’t necessarily have to use them in one run.
- You will gain 30% progress for completing the incident, as well as the first clear and standard rewards
- You will not unlock sweeping without 100% progress
- Your dwellers will be assigned to your squad and leave their posts if you use different ones. Make sure to reassign them - especially the production ones.
- If you use both of the weaker dwellers, you should bring the three of your strongest dwellers along with them. One should be a healer.
- The dwellers you need for progress do not need to survive. So Sturges and Dogmeat may die as long as you beat the encounter with the other three dwellers.
- So far, I’ve seen the requirement for Strong, Sarah, Dave, Kellog, Preston, Mistress of Mystery, Silver Shroud, Maxson, Virgil, Madison, Pickman, Slag, Alien, Father Clifford, Three Dog, Moira, Piper, MacCready, Dogmeat, Sturges, Cait, Curie, Cade, and Ronnie. It’s safe to assume that most of these dwellers will be R or SR, also unlockable through hard missions, but some SSR dwellers will be required.
- Most of these dwellers are obtainable through free means without drawing from pools.
- Note that you need the SSR dwellers far less often than the SR or R - usually for Hard or Master missions
- Hard missions (Piper, …)
- Faction missions (Ronnie, Madison, …)
- Simply getting them at the beginning of the game (Sturges, Dogmeat)
- Daily rewards (Sarah)
- Combat zone rewards (Strong, Sarah, …)
- Most of these dwellers are obtainable through free means without drawing from pools.
- You can run into new Capital Wasteland creatures
- You will discover a new room hazard that doesn’t cause radiation, nor does it take your health. It does, however, take your dwellers’ AP.
- Radars may summon enclave soldiers, especially in Hard missions.
- Master missions do not reward completely random orange attachments; instead, you’ll gain a random attachment piece from a predefined set (for example, the Wasteland Apothecary one)
- You may run into special challenges - such as darkening your vision and allowing you to see only adjacent rooms. (Usually in hard missions.)
- Bosses are usually easy to beat or absolute killing machines that will wipe you out
Some General Advice That May Help
- Bring a superb healer, a fantastic Radiation healer, or better yet - both of them to the missions of the highest difficulty (master).
- If you have precisely 2 ropes, there may be a room that you can only get to through a rope and back using the second one.
- Ropes and Stealth Boys can be used to skip enemies, disable their power-ups, and boost your own attack before you take them on.
- If you’re in a darkness map, a room scanner (don’t use it, just press it and look at the room outlines) can be a great help in navigating the hellscape-mazes that these maps are.
- Remember that portals may lead to a different location than the one you teleported to them from.
- Once you get to upgrading equipment to level 66, you’ll need a lot of caps and resources, the best place to get resources are hard missions (they give 25 of each, you need like 500 per level)
- Hard missions give you posters
- SSR Tara (up to 6)
- SSR Amari (up to 12 a day, One of the 4 hard missions requires Sarah)
- SSR Madison (up to 6, requires Silver Shroud and Maxson)
- Hard missions give you posters
Last but not least - if you took on an Alpha Deathclaw without a healer or two on hard difficulty, you deserved to be killed off.